Introduction to Tie Dye Techniques for Baseball Caps
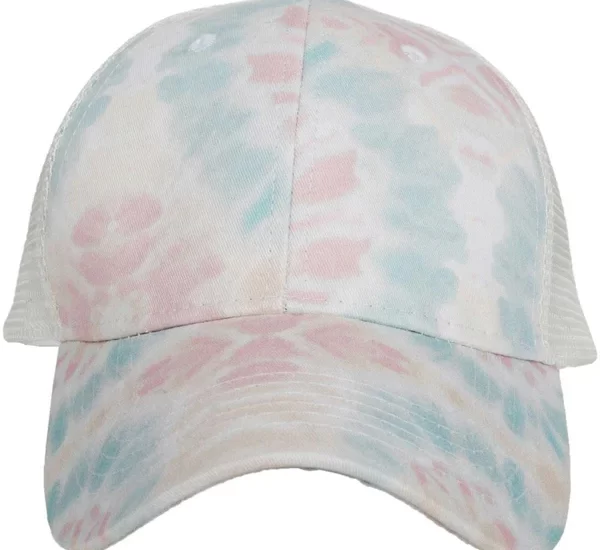
How to tie dye a baseball cap? Tie dyeing is a craft as timeless as it is fun. It allows you to add a splash of color and a dash of creativity to your wardrobe. Baseball caps, with their unique structure, can pose specific challenges in the tie dye process. However, with the right approach, revitalizing an old cap into a vibrant piece of wearable art is an achievable task. Whether you aim to add a rainbow of colors or prefer a more minimalist, single-hue design, the possibilities are as endless as your imagination.
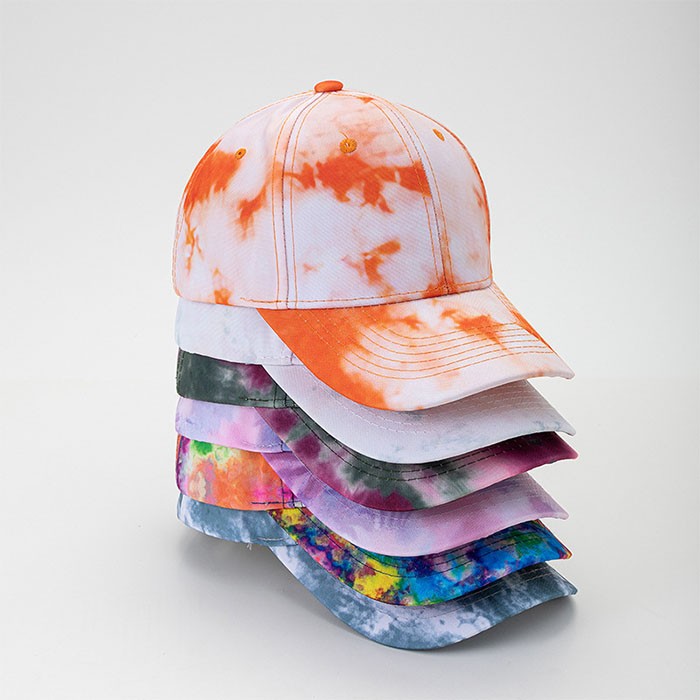
Before embarking on your hat tie dye adventure, it’s essential to grasp some basic techniques. First, remember that working with baseball caps is different from dyeing a flat piece of fabric, like a T-shirt. The cap’s rounded shape and rigid brim present unique considerations for the tie dye process. Additionally, the type of material can affect dye absorption, with natural fibers such as cotton being the most dye-friendly.
Armed with a handful of supplies and a dash of patience, transforming your old baseball cap can be both enjoyable and rewarding. Crafters can explore multiple color patterns or stick to a simple, elegant single color. As we dive deeper into this guide, you’ll learn about the necessary supplies and the step-by-step processes suited for dyeing baseball caps. So, grab your old hat, roll up your sleeves, and get ready to inject some color into your accessories!
Essential Supplies for Tie Dyeing a Baseball Cap
To start your tie dye project, you’ll need a few key supplies. Having these on hand will ensure a smoother and more successful dyeing experience. Here are the basic materials you’ll require to breathe new life into your baseball cap:
- Baseball Cap: A light-colored cap, preferably white and made of natural fibers like cotton, works best for vibrant results.
- Rubber Bands: Sturdy rubber bands are essential for creating patterns and securing areas of the cap you wish to leave undyed.
- Dye: You can use single-color dye in a squirt bottle or a multi-color tie dye kit. Select non-toxic dyes for safety.
- Protective Gloves: To avoid staining your hands, wear latex or nitrile gloves.
- Plastic Cover: Protect your work area with a large trash bag or plastic sheet.
- Sponge Brushes: These are useful for applying dye neatly, especially on the brim.
- Water Source: For pre-soaking the cap and rinsing out excess dye.
- Drying Rack or Area: A safe place for your cap to dry without transferring dye to other surfaces.
Gather these materials beforehand to streamline the dyeing process. Each element plays a crucial role in transforming a dull cap into a vibrant fashion statement.
Step-by-Step Guide: Tie Dyeing a Hat with Multiple Colors
Transforming your plain baseball cap into a multi-colored masterpiece is simple with these steps. From classic rainbow patterns to unique color combinations, follow this guide for eye-catching results.
- Start with a Damp Hat: Submerge your hat in water, making sure it’s completely wet. Wring out any excess water, as this will help the dye spread more evenly.
- Bind with Rubber Bands: Depending on the design you’re aiming for, wrap rubber bands tightly around the hat’s base in various sections. The areas under the bands will retain the hat’s original color.
- Prepare the Dye: Mix your preferred dye colors according to the package instructions. If you’re blending multiple colors, get different squeeze bottles ready for each hue.
- Dye Application: Protect your working area with plastic and lay the cap on it. Apply dye to the sections between the rubber bands, saturating well. Remember to flip the cap and cover all sides evenly.
- Dye the Brim: Pour dye onto your plastic workspace, using it as a palette. Dip a sponge brush into it and gently apply the dye to the brim, cleaning the brush between colors to create a nice gradient effect.
- Rest and Dry: Allow your hat to sit undisturbed, ideally in the sun or a breezy spot, for about four hours, or until it’s dry or almost dry.
- Remove Bands and Rinse: Snip the rubber bands off and rinse the hat thoroughly, making sure the water runs clear. This removes excess dye.
- Wash and Dry: Wash your hat separately without soap to avoid staining other garments. After washing, set the cap in a warm, dry place to finish drying off.
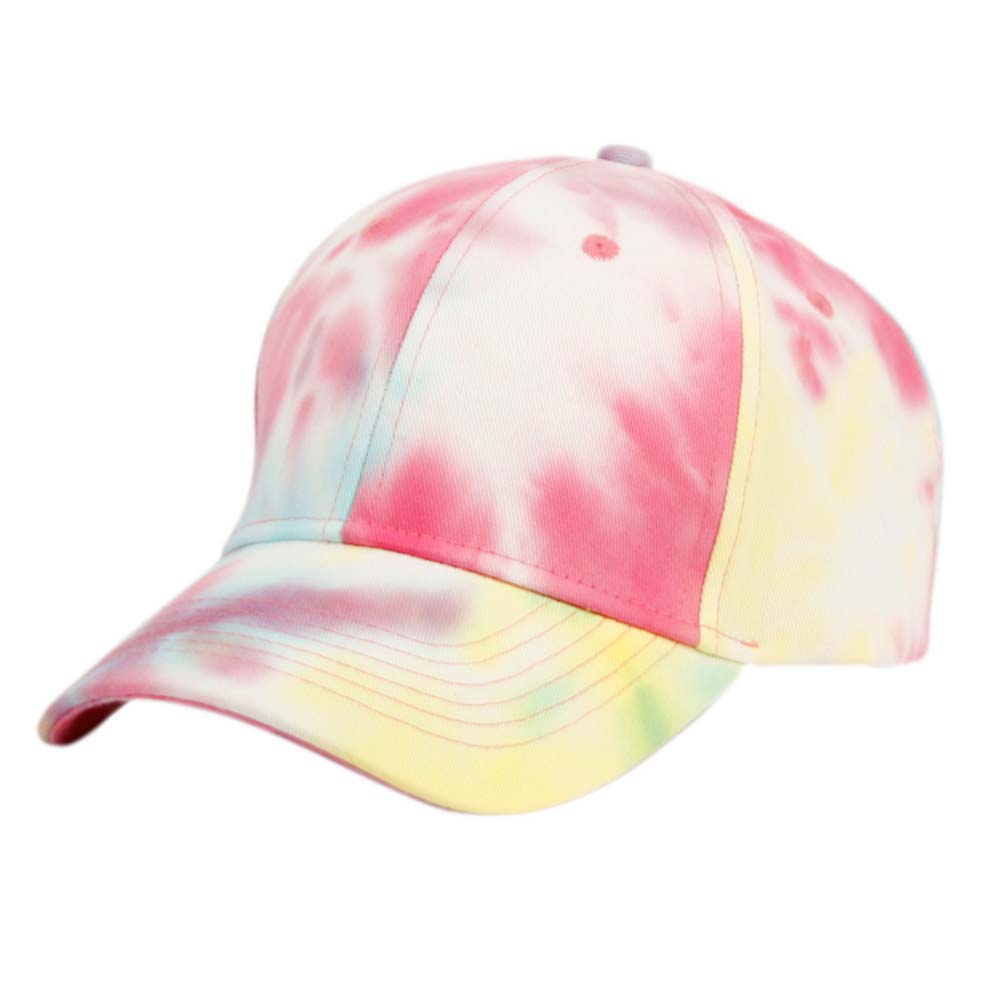
Simple Method for Tie Dyeing a Single Color Baseball Cap
If you prefer a sleek, uniform look, tie dyeing a baseball cap with a single color is the way to go. Here’s a simplified method to achieve a solid shade without the complexity of multiple colors:
- Select Your Dye: Choose a fabric dye in your desired color, ideally in a squirt bottle for easy application.
- Dampen the Cap: Ensure the cap is thoroughly wet by dipping it in water and wringing out the excess. A damp cap will take the dye evenly.
- Bind the Cap: Use rubber bands to section off parts of the cap you want to keep dye-free.
- Apply the Dye: Squirt the dye onto the cap’s fabric, covering it fully. Carefully aim for a consistent shade.
- Let It Set: Set the cap aside for the dye to take hold, ideally for a few hours and preferably in a sunny spot.
- Rinse Thoroughly: Once the dye has set, rinse the cap until the water is clear, which indicates that excess dye is removed.
- Wash Without Soap: Clean the cap in a wash cycle without soap to ensure no other items are stained.
- Dry Naturally: Air dry the cap by placing it in a warm, dry area. Do not rush this step to avoid uneven drying.
Single-color tie dye is a straightforward way to refresh your baseball cap with a modern twist. Remember to wear gloves, protect your workspace, and rinse the cap well to prevent unwanted dye transfer. With this method, you’ll have a new, personalized cap ready in no time.
Setting and Drying: Timeframes and Best Practices
When tie dyeing a baseball cap, setting and drying are crucial steps that require patience and the right approach for the best results. Here are some timeframes and best practices to follow:
- Allow Proper Drying Time: After dyeing your cap, it needs time to dry. Expect to wait at least four hours, sometimes longer. Setting it in the sun or a breezy place can speed up drying.
- Keep It Undisturbed: While drying, leave your cap untouched. This ensures the dye sets properly without smearing or bleeding.
- Rinse until Clear: Once dry, rinse your hat under cold water until the rinse water is clear. This step is vital to remove any excess dye.
- Wash Separately: After rinsing, wash the cap alone. Use cold water and skip the soap to prevent the dye from running onto other items.
- Dry with Care: Opt for air drying in a warm, dry spot. Avoid using high heat or a tumble dryer, as this may affect the dye and the cap’s shape.
Follow these steps closely to ensure your how to tie dye a baseball cap project turns out perfectly. Don’t forget to wear gloves and protect your workspace during the dyeing process. Patience in setting and drying will pay off with a beautifully dyed cap.
Tips for a Successful Tie Dye Experience
To create a stunning tie-dyed baseball cap, consider these practical tips. They’ll help you achieve the best results and make the experience enjoyable.
- Pre-wash Your Cap: Even new caps may have residues. Wash them first for better dye absorption.
- Test Dye Colors: Experiment on a scrap fabric. Know what to expect from the dye hues.
- Wear Old Clothes: Protect your attire from dye splashes by wearing old or unwanted clothes.
- Use Quality Dye: Invest in good dyes. They give brighter, long-lasting colors.
- Tight Rubber Bands: Secure rubber bands tightly. They prevent color bleeding into sectioned off areas.
- Plastic Bags for Resting: After dyeing, place your cap in a plastic bag. This helps keep moisture in.
- Avoid Direct Sunlight While Drying: Sun can fade the dye. Dry in a shaded area.
- Rinse in Cold Water: Cold water helps set the dye. Rinse until the water runs clear.
Keep these tips in mind as you embark on how to tie dye a baseball cap. They’ll ensure a smoother process and a better-looking final product. Happy dyeing!

How to Care for Your Tie-Dyed Baseball Cap
Caring for your newly tie-dyed baseball cap properly can extend its life and keep colors vibrant. Here are some essential tips.
- Wash Gently: Hand wash your cap in cold water with a gentle detergent. Avoid harsh chemicals.
- Separate Washing: Always wash the tie-dyed cap separately. This prevents dyes from spreading to other clothes.
- Air Dry: After washing, let the cap air dry. Do not use a dryer as it can cause shrinkage or fading.
- No Bleach: Never use bleach on your tie-dyed cap. It can remove colors and ruin the design.
- Avoid Direct Sunlight: Dry the cap in a shaded area. Direct sun can fade the vibrant colors over time.
- Store Properly: When not in use, store the cap in a cool, dry place away from direct light. Keep it shaped with paper inside.
- Retain Shape: To keep the cap’s structure, stuff it with paper towels or cloth while drying.
These steps will help maintain your cap’s brilliant patterns and colors. Enjoy your refreshed, colorful baseball cap for a long time.
Creative Ideas and Finishing Touches for Your Tie Dyed Cap
After mastering how to tie dye a baseball cap, it’s time for the fun part. Adding creative touches to your cap sets it apart and makes it truly your own. Here are some ideas to inspire you:
- Experiment with Patterns: Beyond the classic spiral, try shapes like stripes, polka dots, or even hearts by manipulating the placement of rubber bands.
- Incorporate Stencils: Once the dye has set, use fabric paint and stencils to add letters, numbers, or other designs.
- Play with Color Blocking: Create a modern look with sharp lines and contrasting colors by using tape or additional rubber bands.
- Add Embellishments: Once dry, sew on beads, patchworks, or buttons for a three-dimensional effect.
- Try a Bleach Technique: For a reverse effect, carefully apply bleach over a dark-dyed cap to remove color in specific areas.
- Use Fabric Markers: Draw or write directly onto the dyed fabric with fabric markers for personalized messages or doodles.
- Fringe the Edge: Make small cuts around the edge of the cap’s brim for a frayed, vintage appeal.
When applying these personalized touches, always make sure your cap is dry. Protect your workspace, and wear gloves if required. After you’re finished, take proper care of your cap to preserve these details. Wash it gently and separately and avoid direct sunlight when drying. Follow these steps and you’ll enjoy a cap that’s not only colorful but also reflects your personal style!

