Introduction: Crafting Your Very Own Witch Hat
Creating a witch hat can be a fun and rewarding project for anyone who enjoys crafts. Whether for Halloween, a themed party, or a costume event, a homemade witch hat adds a personal touch to your outfit. The materials you choose will determine the overall look and feel of the hat. In this guide, we will walk through the steps to make a classic witch hat. You’ll learn about materials, design options, and decoration ideas to make your hat truly unique.
Gathering Materials
Essential Supplies
Before starting your project, gather all the necessary materials. The basic supplies include black construction paper or felt, scissors, a ruler, and a pencil. If you want your hat to be sturdier, consider using cardboard instead of construction paper.
You may also need a hot glue gun or fabric glue to secure the pieces together. Don’t forget to have some embellishments on hand, like ribbons, sequins, or even faux spider webs. These decorative items can add a personal flair to your hat. Once you have everything ready, you can begin crafting your witch hat.
Optional Extras
To enhance your witch hat even further, consider additional materials. For a unique touch, you might add some metallic paint, glitter, or fabric patches. You can also use various types of fabric like velvet or lace for a different texture.
If you want to make your hat more functional, consider creating a comfortable band to fit your head. A piece of elastic or fabric can help keep the hat in place during use. Personalizing your hat allows for creativity, so feel free to think outside the box.
Designing the Hat Shape
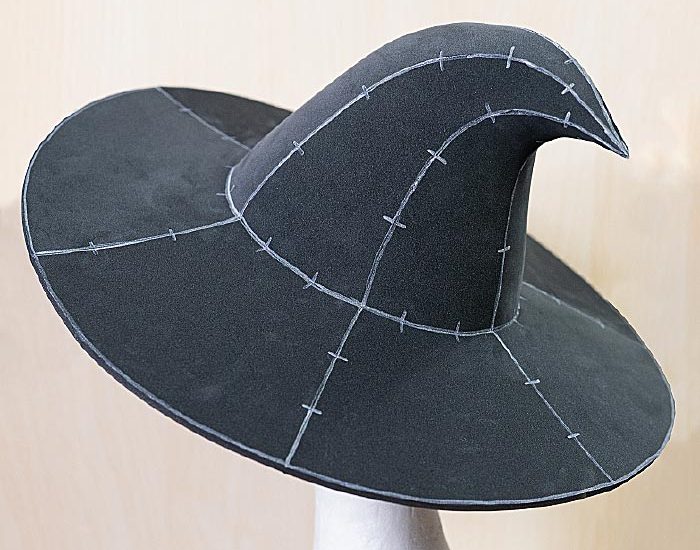
Creating the Cone Base
To make the classic cone shape of a witch hat, start by measuring your head circumference. This measurement will guide you as you create the base of the hat. Using a ruler, draw a large circle on your chosen material. The diameter will depend on your head size, so a diameter of around 12-15 inches is a good start.
Next, draw a triangle extending from the circle to form the cone. The height of the triangle determines how tall you want the hat to be; a height of 12-15 inches is common. Cut out the shapes carefully, ensuring clean edges. This will form the core structure of your witch hat.
Assembling the Hat
Once you have your cone shape cut out, it’s time to assemble the hat. Gently roll the triangle shape into a cone and secure the edges with glue. Hold the edges together for a few moments until the glue sets. Once the cone is stable, attach it to the circular base.
Apply glue around the edge of the circular piece and press the bottom of the cone onto it. Ensure it sits evenly on the base. Allow the glue to dry completely before moving forward. At this stage, you’ll have a basic witch hat shape ready for decoration.
Decorating Your Witch Hat
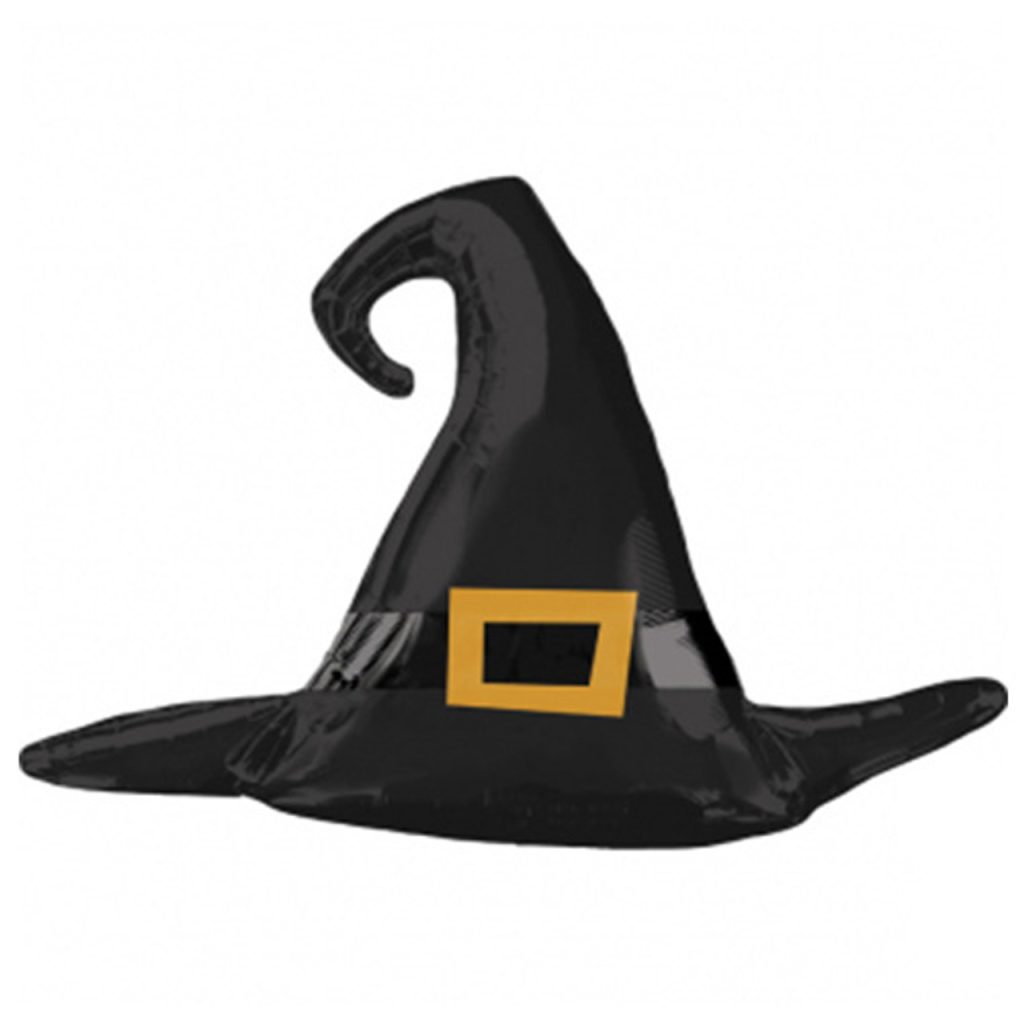
Adding Color and Texture
Now comes the fun part: decorating your witch hat! You can start by painting or adding fabric to the hat. If you prefer a classic look, shiny black paint or velvet fabric works well. However, don’t be afraid to use colors like purple, green, or orange for a more whimsical style.
Consider layering fabrics or using materials like tulle for a dramatic flair. You can even cut out stars or moons from colored paper and glue them to the hat for a magical effect. Allow any paint or glue to dry completely before moving on to the next steps.
Embellishing the Hat
Once the base decoration is complete, it’s time to add embellishments. Ribbons can be tied around the base of the cone for extra flair. Consider using a contrasting color to create a striking appearance. You can also add sequins, beads, or glitter to make the hat sparkle.
Additionally, faux flowers, feathers, or spooky elements like spider webs can enhance the theme. Place them strategically to achieve an eye-catching design. Let your creativity flow, and remember that each embellishment showcases your unique style.
Securing the Hat
Creating a Comfortable Fit
To ensure that your witch hat stays on during wear, it’s essential to create a secure fit. Measure the size of your head once again and cut a strip of fabric or elastic that matches that size. Attach this strip to the inside of the hat.
You can sew it in place, but using a hot glue gun can also yield fast results. Make sure to leave some slack so that it can stretch comfortably. A secure fit allows you to move freely without always adjusting the hat.
Adding a Chin Strap
Another option for securing your hat is to create a chin strap. This feature can be especially useful for windy days or when you’re dancing. To make a chin strap, cut two shorter strips of fabric. Attach one end of each strip to opposite sides of the hat’s brim.
The other ends can either tie under your chin or velcro together. Ensure that the strap allows for some flexibility and comfort. This additional support will help keep your hat in place, letting you enjoy your festivities without worry.
Final Touches and Tips
Inspecting Your Hat
Once you have finished decorating and securing your hat, take a moment to inspect it. Ensure that all decorations are firmly attached and that the hat fits comfortably. Adjust any elements as needed, ensuring everything looks just right.
A little extra time at this stage can make your hat look polished and professional. Pay attention to any details that can give your hat a more finished appearance. This final inspection will help you avoid any last-minute surprises when you wear your new hat.
Storing Your Witch Hat
After completing your witch hat, you’ll want to store it properly to maintain its shape. Avoid folding the hat, as this can cause creases. Instead, find a spacious area in a closet or use a shelf to display it. You can even store it upside down to preserve its conical shape.
Consider covering the hat with a breathable bag to protect it from dust. If you plan to wear it again, keeping it in good condition will make future use much easier. Careful storage ensures that your hard work pays off and that your hat looks fabulous every time you wear it.
Enjoying Your Witch Hat
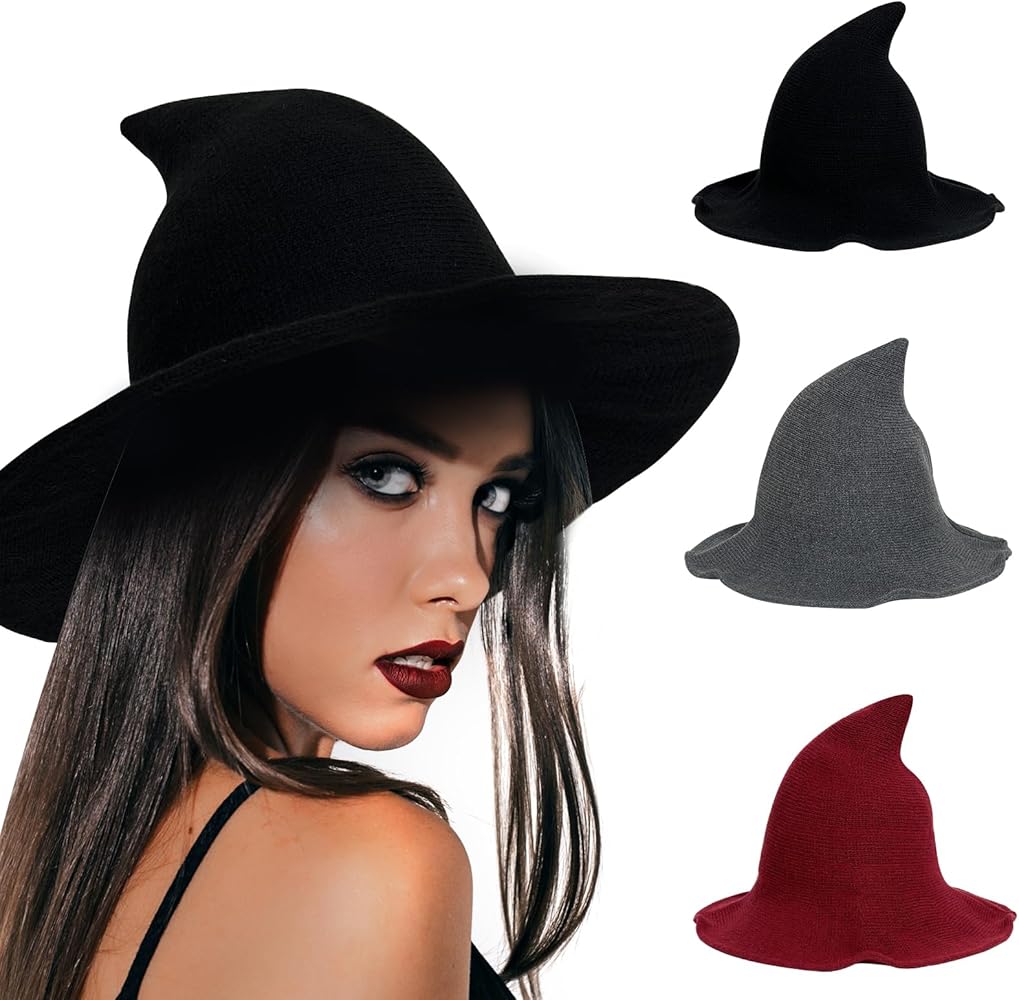
Wearing It with Confidence
Your homemade witch hat is now complete, and it’s time to show it off! Whether you’re going to a Halloween party, a themed event, or a costume gathering, wear your hat with pride. Confidence enhances any outfit, and a well-crafted hat adds to the overall charm of your look.
Don’t hesitate to show off your creativity. Engage with others at parties or events, and share your crafting experience. The effort you put into creating your witch hat will surely impress your friends. Enjoy the compliments and discussions inspired by your unique design.
Sharing Your Craft
Creating a witch hat can inspire others to take on their DIY projects. Share your crafting journey on social media or with friends and family. Consider hosting a crafting party where you and your friends can collaborate on making witch hats together.
Sharing your finished masterpiece not only celebrates your creativity but also encourages others to explore the world of crafting. You may learn new techniques and ideas from fellow crafters. In turn, this collaborative spirit can fuel your passion for future projects.
Conclusion: Crafting Your Magical Creation
In conclusion, making a witch hat is a rewarding and enjoyable project that allows for creativity and personalization. Whether for Halloween or any themed occasion, your homemade hat adds a unique touch to your costume. By following the steps outlined in this guide, you can create a striking witch hat that reflects your individual style.
Gathering the right materials, designing the shape, decorating, and securing the hat are all parts of the crafting process that come together to make something special. Enjoy wearing your witch hat, and don’t forget to share your creation with others. Embrace your magical journey in crafting, and let your creativity shine!